[ROM] THL W8/W8+ (4GB/8GB/16GB) GravityMod2 - Android 4.2.1 (60 FPS UI)
GravityMod2 - custom ROM for THL W8/W8+ (4GB/8GB/16GB) - Android 4.2.1Version 1.9Compatible with 4GB and 8GB versions of THL W8 and 16GB version of THL W8+IntroductionHere comes the Android 4.2.1 ROM with full Project Butter experience with UI running @ 60+ FPS making our W8 a real beast!
It's based on the latest Eastcom W1 stock Android 4.2.1 ROM. It's a pure stock with a few fixes and mods on top (check out the Changelog in the second post).
Installation can be done via SP Flash Tool (Instructions below).
IMPORTANTRead instructions.txt included in basic system package to find out where to get remaining images compatible with your W8 model.
Read carefully before you proceed- full wipe is needed to upgrade from Android 4.1.2 or any other ROM that's not based on this one.
- returning to previous ROM that was backed up using custom recovery is possible only in case you used my
ClockworkMod to backup your previous ROM.
All other custom recoveries will simply not work because they are not "MTK6589 friendly".
So I strongly recommend to flash my ClockworkMod and perform backup using this recovery before proceeding any further.
 Main Features
- Project Butter fully working (60FPS UI on W8, 49FPS on W8+)
- Rooted
- Busybox
- Sysinit support (for init.d scripts)
- Updated Google apps
- Google Now included
- Chinese apps removed
- Updated APNs
- CallerID mappings fixed in Phone calls and Messaging
- CyanogenMod Circle Battery
- Auto-hide of signal icons for empty SIM slots
- No annoying "SIM card not inserted" notifications
- Power menu reboot and recovery
- Fullscreen caller photo
- Multiline contact names
- Volume key cursor control
- Recent apps clear all button
- Internet Calls support (SIP)
- OTA updates via GooManager
- Engineering mode accessible from Settings / Developer options
USE AT YOUR OWN RISK. I TAKE NO RESPONSIBILITY FOR ANY DAMAGE CAUSED TO YOUR DEVICE.DownloadsBasic system packages (system.img) - version 1.5THL W8 (4GB/8GB): http://tinyw.in/S9g0 (MD5: 18ba1bbc0d9b2b16cdd8c7995d0aa9ab)
THL W8+ (16GB): http://tinyw.in/zZAW (MD5: b4a3f6de8cae5ad4234d74b5179bdb6f)
Incremental updates (installable via custom recovery)Incremental update (v1.5 -> v1.6) - applicable to both models - W8/W8+ (MD5: 43664f1480f5d433488d776d01bca789)
Incremental update (v1.6 -> v1.7) - applicable to both models - W8/W8+ (MD5: 1d973c0623d9f44a84ba8dbb3681be1d)
Incremental update (v1.7 -> v1.8) - applicable to both models - W8/W8+ (MD5: e93ddf694debb9b97915f8ba4f1eb429)
Incremental update (v1.8 -> v1.9) - applicable to both models - W8/W8+ (MD5: d2a84b82b237b302df56b824ac8068fb)
Installation instructions1) Download and install
USB VCOM Driver2) Download and extract
SP Flash Tool3) Download and extract basic system package to an empty directory.
Read and follow instructions.txt3a)
OPTIONAL - FOR W8 4GB/8GB MODELS ONLY!!!In case you want 2GB space for applications instead of standard 1GB, download
this zip file and extract it to the same directory where other files extracted in step 3) reside.
4) Run SP Flash Tool, click on "Scatter file" button and choose appropriate scatter text file you obtained by following instructions.txt in step 3)
All relevant memory blocks should be automatically checked.

*
* In case you applied optional step 3a) - EBR1 and EBR2 will be checked additionally.
5) Turn off your phone. Make sure USB cable is unplugged. Wait until vibrator indicates it's turned off
6) Click
Download button in SP Flash tool, confirm warning complaining about not all files being selected
DO NOT USE FIRMWARE UPGRADE!!! EVEN IF SP FLASH TOOL SAYS THAT YOU SHOULD, DON'T - OTHERWISE YOU'LL END UP WITH A BRICK!!!7) Connect your phone and wait for the flash process to finish (indicated by window with green circle)
If you get error
8038: PMT is ready and layout has been changed, this means you need different scatter file.
Follow instructions at the end of this post on how to generate your own scatter file.
Then return to step 4) and use your own generated scatter file.
8) Reboot to CWM recovery and perform factory reset (wipe data, advanced/wipe dalvik cache)
9) Download
all available incremental updates. Install all
in correct order while in custom recovery.
You don't need to reboot between updates. Just flash them in a row.
10) Reboot
Incremental update instructions - when updating to newer version1) Download incremental update package and put it on SD card
2) Reboot to recovery
3) Wipe cache and dalvik cache (don't wipe data - your user apps will be preserved)
4) Install incremental update from SD card
5) Reboot
Repartitioning instructions - to get more space for apps (2GB instead of 1GB)APPLICABLE TO W8 4GB/8GB VERSIONS. DON'T USE FOR W8+ !!!
1) Backup contents of Phone storage (internal SD) somewhere to your PC.
2) Download
repartitioning package and put it on external SD
3) Reboot to recovery
4) Backup your rom -
IMPORTANT!!! CHOOSE TO BACKUP TO EXTERNAL SD!!! IF YOU BACKUP TO INTERNAL SD YOUR BACKUP WILLL BE WIPED DURING REPARTITIONING PROCESS!!!5) Install zip from sd card / choose zip from external sd - choose zip downloaded in step 2)
6) Reboot recovery (recovery main menu / advanced / reboot recovery)
7) Format data partition (mounts and storage / format data)
8) Reboot system
9) You should see notification saying that phone storage is damaged. Open notification and confirm Format SD when prompted.
10) Reboot to recovery
11) Restore Backup made in step 4) (you can restore complete rom or just Data partition using "Advanced restore")
12) Copy contents of backed up Phone storage (internal SD) from PC back to Phone storage (make sure they fit new size)
New size for 8GB model: ~4.5GB
New size for 4GB model: ~0.5GB
How to generate own scatter file1) Download and install
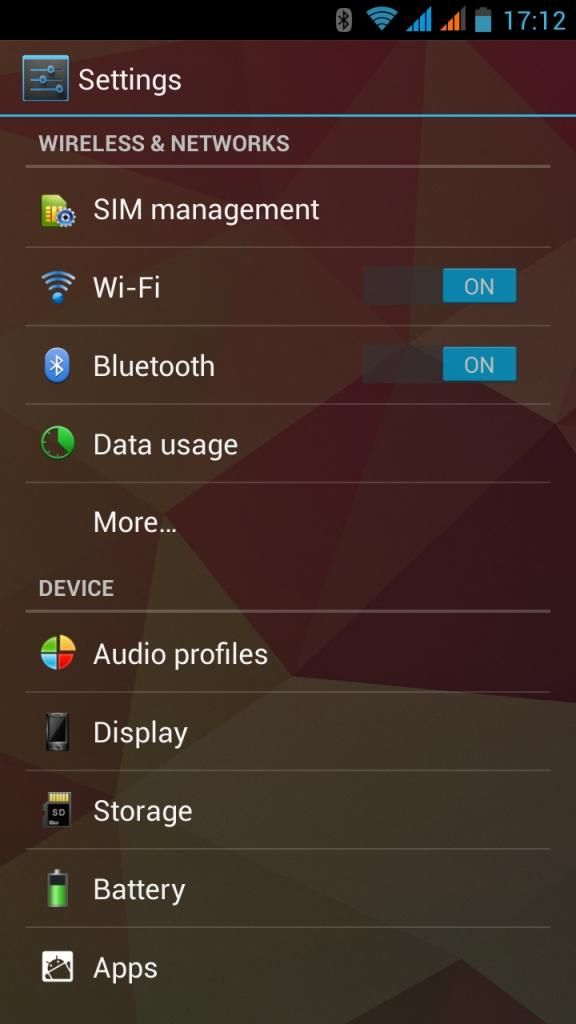
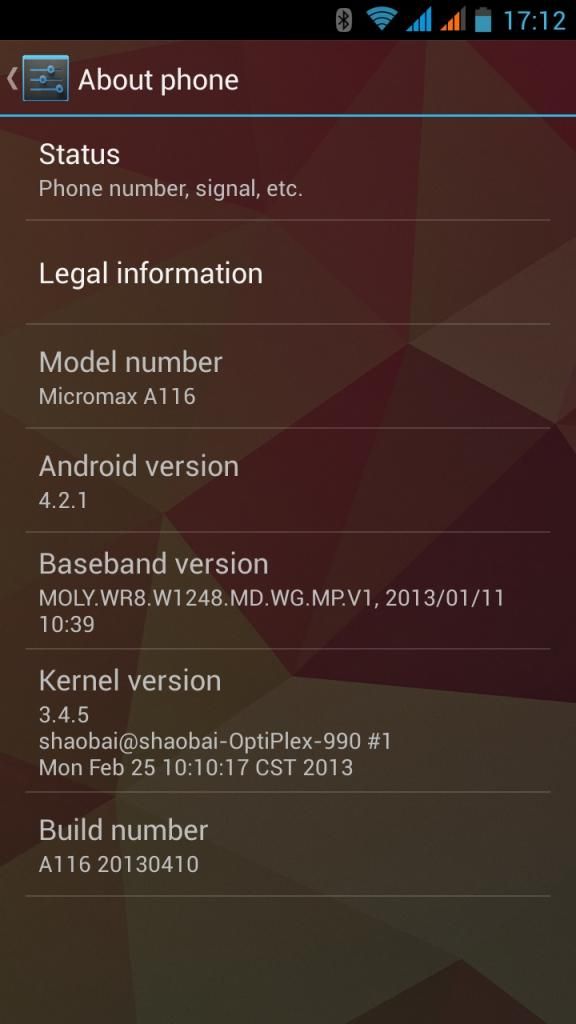
MTK Droid Tools2) Enable USB Debugging in phone Settings / Developer options. If you can't find developer options, go
to Settings / About phone and tap like 7 times on Build Number - developer options will be unlocked.
3) Run MTK Droid Tools app and connect your phone using USB cable.
ADB Composite Interface driver should install automatically (you can check in Device Manager and in case there's a warning sign,
right click it, choose Update driver and try updating driver manually)
4) If connection was successfull, MTK Droid Tools will display info about your phone together with "Blocks map" button.
Click it. New window with blocks map info opens. Click "Create scatter file" button to generate scatter file.
5) Use generated scatter file to flash ROM in SP Flash Tool